Adjusting for exception dates
You can pause your SLA calculations for exception dates that you enter into the system.
ITCC enables you to categorize your exception dates by type. For example, your types can include:
- national holidays
- international holidays
- company-wide events
- blackouts
Setting up exception dates
You can set up exception dates at any time.
To set up exception dates:
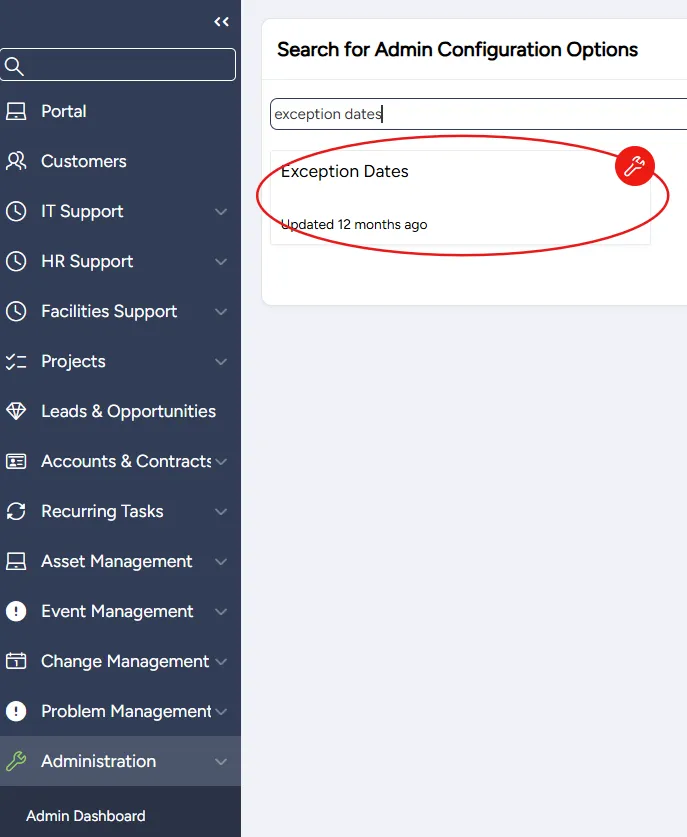
On the left side menu, select Administration.
In the search bar under Search for Admin Configuration Options, type Exception Dates and select the Exception Dates option that appears.
From the Exception Dates page, you can:
Setting up exception date types
You must set up exception date types before adding exception dates. Each exception date is associated with one of the types you set up in the system.
To set up exception date types:
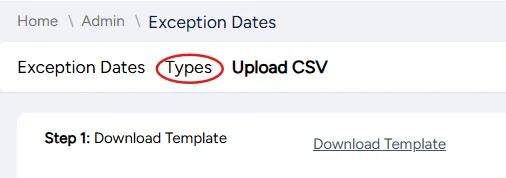
On the Exception Dates page, select the Types tab.
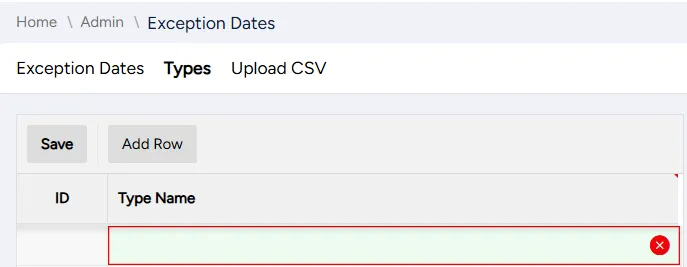
On the page that opens, use the spreadsheet to add or edit a type.
- To add a type, select Add Row, enter the type name on the new row that appears, and select Save. The ID is assigned automatically by the system.
- To edit a type, click on the cell with its name, enter the updated name, and select Save.
Adding or editing an exception date
You can add or edit an exception date at any time.
To add or edit an exception date:
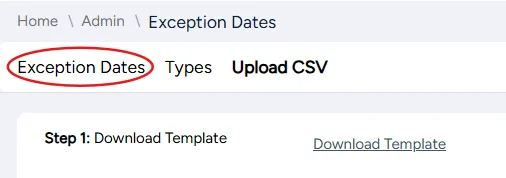
On the Exception Dates page, select the Exception Dates tab.
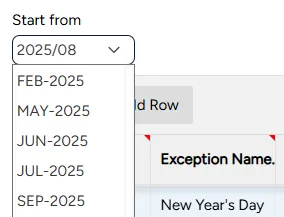
If you need to set or change the start date, from the Start From dropdown menu, choose the month and year when your calendar begins.
- To add a new exception date: Select Add Row
- To edit an exception date: Scroll down to the exception date you want to edit
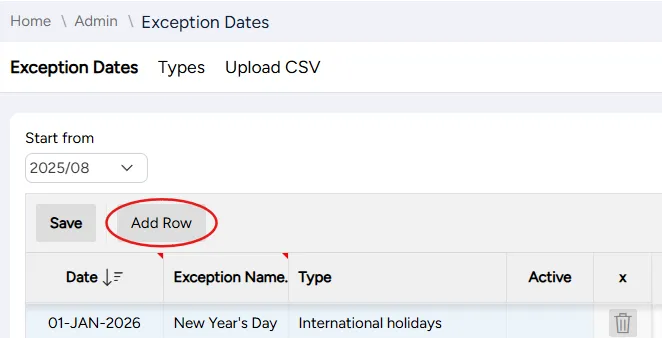
Enter or edit the exception date's settings.
Field | Description |
|---|---|
Date | Select the date from a dropdown calendar |
Exception name | Enter the name of the exception date |
Type | Select the exception date's type from a dropdown menu (You must set up types before adding exception dates) |
In the spreadsheet heading, select Save.
Disabling and deleting an exception date
You can disable or delete an exception date at any time. A disabled exception date can be enabled at any time. A deleted exception date is removed from the system permanently.
To delete an exception date:
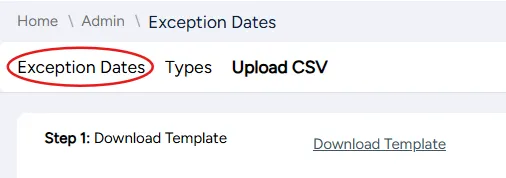
On the Exception Dates page, select the Exception Dates tab.
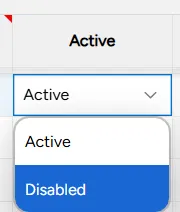
- To temporarily disable the exception date: double click in the Active column and select Disabled from the dropdown menu that appears
- To permanently delete the exception date, select the delete icon in the last column.
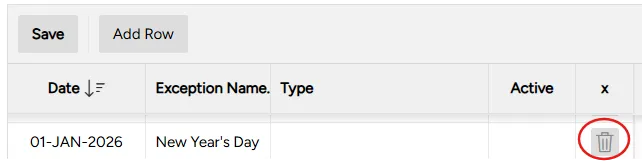
Scroll down to the row corresponding to the exception date you want to delete.
Select Save.
Uploading a calendar from a spreadsheet
You can upload a file containing your organization's exception dates.
The file must be in CSV format. The date in the file must be in the format dd-mm-yyyy.
A template file is available for you to download and enter your exception dates.
To upload a calendar from a spreadsheet:
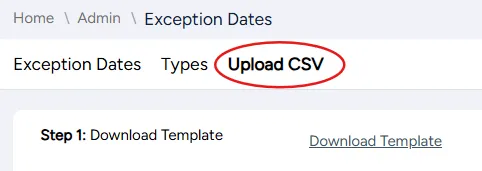
On the Exception Dates page, select the Upload CSV tab.
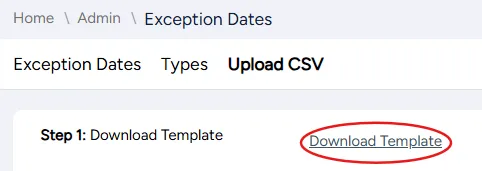
Select Download Template. A template spreadsheet downloads to your computer.
Open the downloaded file and enter your exception date information in the required format. (Required date format: dd-mm-yyyy.)
Select Upload File and choose the file with your exception date information.
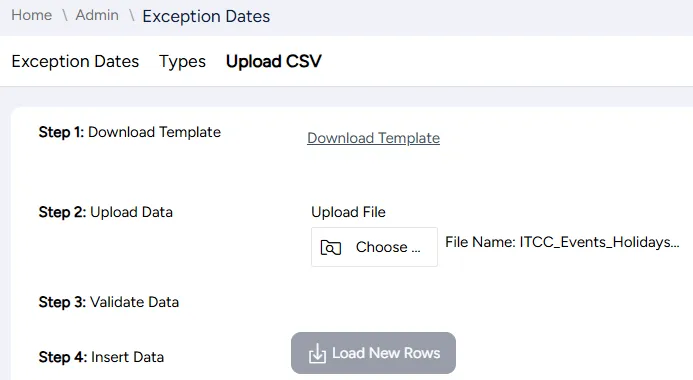
Select Validate File Data.
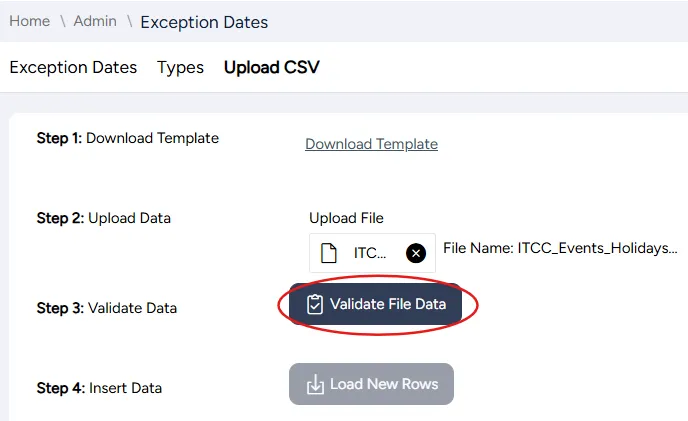
If the file contains any invalid records, the errors are displayed. Fix the errors and upload the file again.

When all your records are valid, select Load New Rows. The events and holidays in your file are saved in the system.

Downloading current calendar of exception dates
You can download your current calendar of exception dates.
To download your current calendar:
On the Exception Dates page, select the Exception Dates tab.
At the bottom of the page, select the Download link.
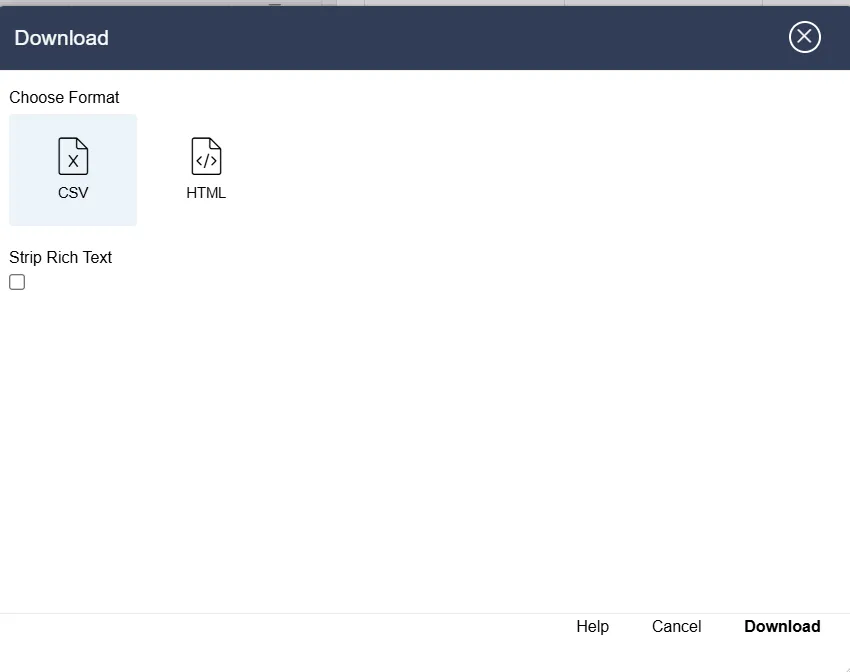
In the Download dialog that appears, select the file format you prefer, then select Download. The file downloads to your computer.